I saw this idea a while back and absolutely loved it and when the Stampin Up's Spring mini came out with the First Edition Paper I knew I would have to be doing this as one of my card kits. I put together a step by step tutorial to make the instruction simple to follow.
Supplies:
Basic Black 8.5 X11 Card Stock
Very Vanilla Card Stock
First Edition Patterned paper
Basic Black Ink
Black Embossing Powder
Heat tool
Because I care Host Set Level 1
Black Lace
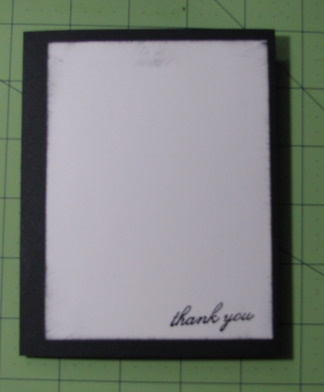
Step 1. Start with a piece of Basic Black card stock folded to 5.5" X 4.25"
2. Cut a piece of Very Vanilla to 5" X 3.75" and ink the edges with basic black ink. At the bottom I stamped the thank you from Because I Care (Host set) and embossed it with black embossing powder. Then mounted the Very vanilla a little off centered on to the basic black.
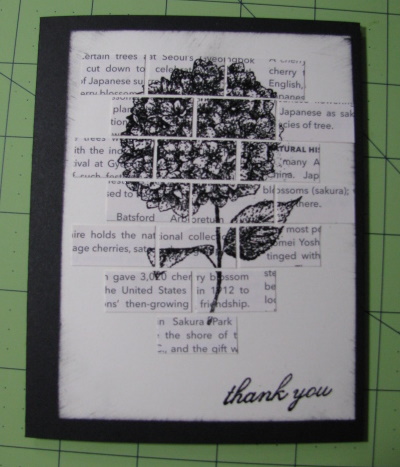
3. Next I stamped the flower from Because I Care on to a 3.5" X 3.25" piece of first edition paper and then again embossed it in black.
4. Next I cut the Img into 1/2" strips.
5. Now comes the tricky part when you cut the 1st strip you are going to cut a 1/2", 1.5", 2.5" for the next strip your going to cut it at 1", 2", and 3". For strip 3, 5 and 7 you will cut like the 1st strip and for strips 4 & 6 you want to cut them like the 2nd strip. This will give you that "brick" look.
6. Next you want to attach your "bricks" to your card I like to lay them out before gluing them down to play with positioning and which ones to keep and which ones to leave off.
7. Add a piece of lace around the card and tie a bow, and your card is complete!


Christina, that looks great!
ReplyDeleteLove how this looks.
ReplyDelete